10 Best Seed Germinating Ideas
We all have visions of lush gardens dancing in our heads while looking at seeds, and it’s so much fun to pick all the varieties we’ll grow that we can forget there’s work to be done between opening the seed packets and harvesting our bounty! But starting your own seeds doesn’t have to be hard, and if you follow the steps and take your time there’s a delicious reward in store. Here are ten simple steps to help you get started:
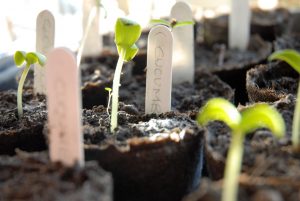
Write it all down. We may think we’ll remember what’s planted in each tray or pot, but a month from now we’ll be scratching our heads if we didn’t write it down! Consider a planting journal to keep track of everything, including when you’ll be able to transplant your seedlings to the garden.
Prevent disease. Give those seedlings the best chance by sterilizing all the containers you’ll be planting in. Make a solution of 10% bleach in water (about 1.5 cups per gallon), and let things soak for 15 minutes followed by air drying. To get ideas for what kind of containers to use, see our post about What You Need Before You Seed.
Happy seeds. Properly stored seeds will germinate better and last longer. Your seeds will remain viable much longer if kept in a cool dark place.

Promote circulation. Many of us will be starting seeds somewhere in our home or garage, and we need to make sure that space is ready to provide the best growing environment. Poor air circulation (and too much moisture) can cause rot and disease. Consider placing a fan near your seedlings, and make sure not to over-water.
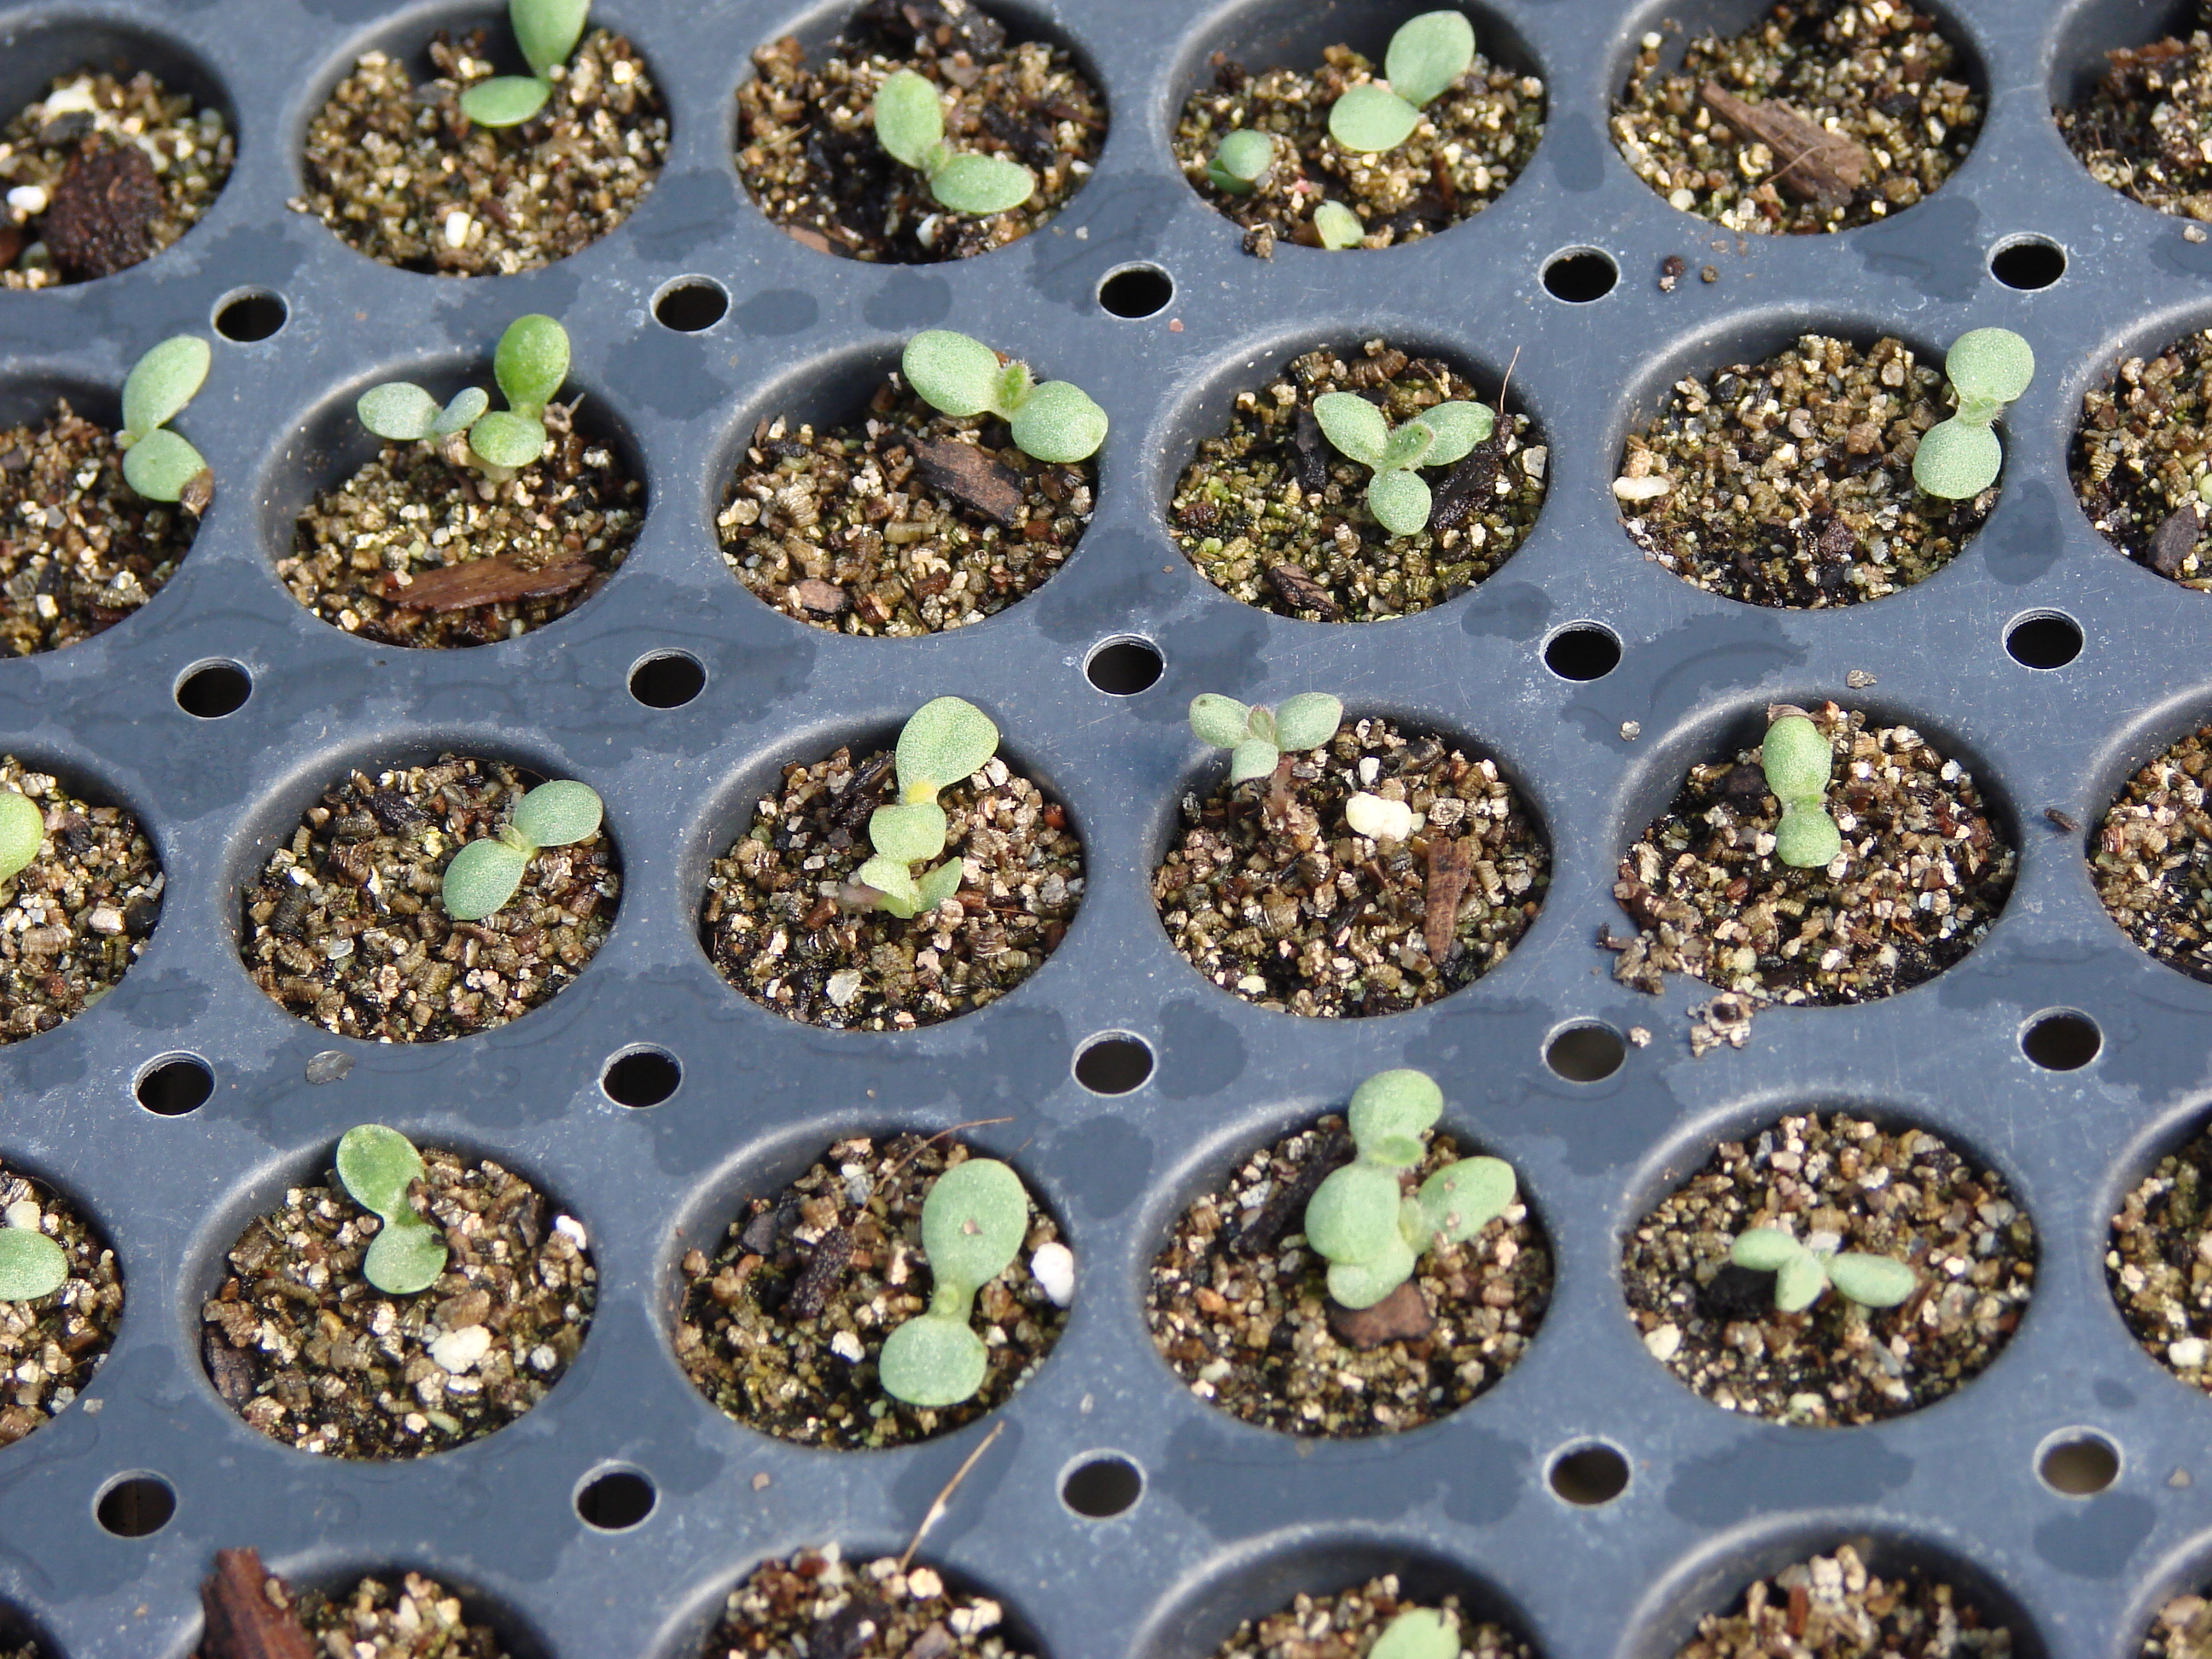
Eliminate air pockets. Before planting, firm down the planting mix. Then top off with more planting mix until it’s 1/4-inch from the top, and plant your seeds. This helps remove air pockets that would cause the roots to dry out.
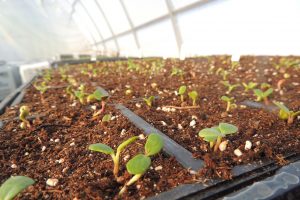
Watch out for flash floods! To keep from disturbing your seeds by heavy watering, cover newly planted seeds with plastic. This will keep in moisture and create a greenhouse effect. Check daily for water levels, and use a spray bottle if the top of the planting mix is too dry. Water from the bottom by pouring water into the tray that holds your containers up to 1/4-inch deep and let it stand for 30 minutes before pouring off. Don’t forget to remove the plastic once the seeds sprout!
Take the chill off. Most seeds need a cozy 75 degrees to germinate. Depending on where you set up your “germination station” you may need to plug in a space heater.

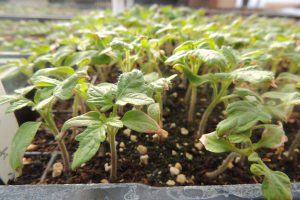
Prevent lopsided seedlings. If you’re using window light instead of fluorescent lights, your baby plants will start to lean toward the sunlight and develop weak stems. Be sure to rotate the trays a quarter turn every day, and brush your hand over the tops of the seedlings to encourage strong plants. (Want to learn how to start plants with a simple method using fluorescent lights indoors? Click here!)
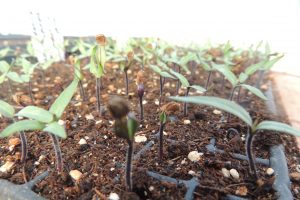
Plants need food too. Once the first set of true leaves appear, your seedling will need fertilizer to keep them well fed and happy. Dilute liquid fertilizer to half-strength, and use once a week.
Ready to Grow! Congratulations, you have happy and healthy plants ready to move outside to your garden. After all that time and effort, don’t forget to give them time to adjust to the change first. Start hardening off your plants by moving them into direct sunlight outside in the morning. Increase their time outdoors by a few hours each day for 3 days, then go ahead and plant them.
Some seeds may require a few extra steps before they’ll germinate, like soaking or scarifying. To learn more, check out this post about pre-treating your seeds!
Visit Everwilde.comÂ
Copyright 2018 Everwilde Farms
4 thoughts on “10 Best Seed Germinating Ideas”